

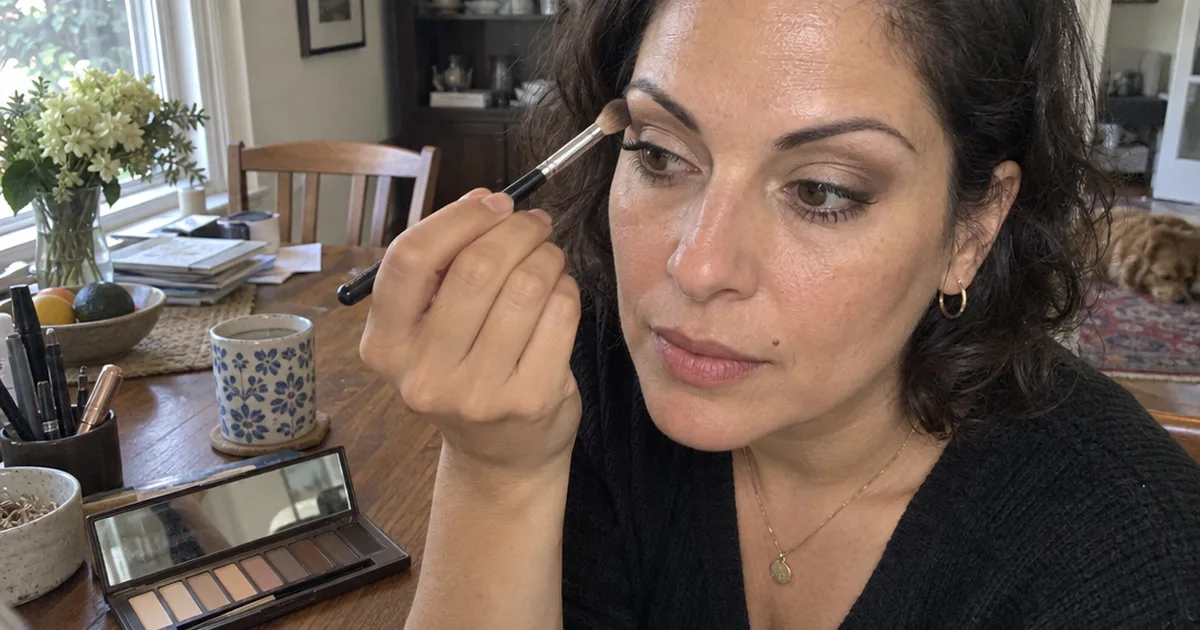
Hooded lids hide the crease, so eyeshadow placed there can vanish the moment you open your eyes.
That’s why a tutorial that looks perfect on one face can fall flat on yours.
This eye makeup tutorial gives you one 8-step look, from primer to mascara, that works as the base for almost everything. Then you’ll adjust it for your eye shape and turn it into an everyday, smokey or softer mature look.
- Best for: Beginners who want one look they can repeat every morning. Skip it if you only want liner and mascara, and go straight to Step 7.
- Cost: A primer, a neutral palette with a light, medium and dark shade, 2 brushes, a pencil liner and mascara.
- Time: Same day.
- First step: Stand by a window with a mirror and check whether your crease shows with your eyes open.
What You Need for This Eye Makeup Tutorial
A beginner eye makeup kit needs 6 things: an eyeshadow primer, a neutral palette with a light, medium and dark shade, a fluffy blending brush, a flat shader brush, a pencil eyeliner and mascara.
Neutral browns and taupes are the easiest place to start in beginner makeup, because they look like the natural shadows already on your face.
So a mistake reads as soft depth instead of a stripe of color.
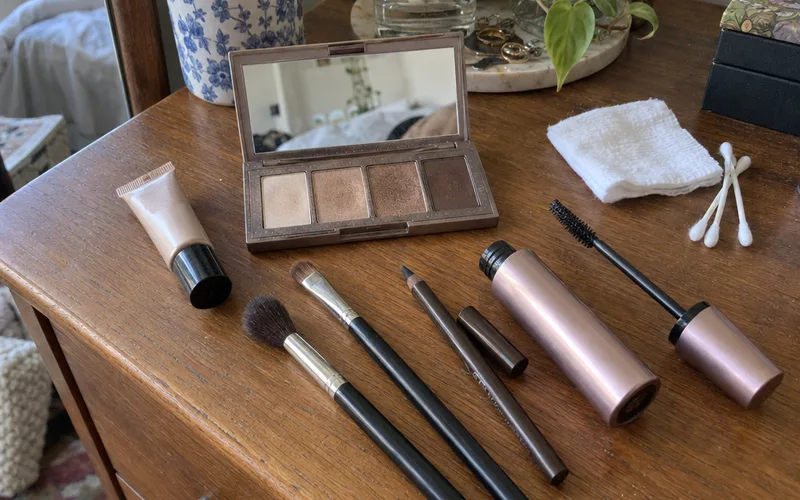
Each brush does a different job:
- Flat shader brush: packs color onto the lid.
- Fluffy blending brush: softens the edges where shades meet.
- Small pencil brush (optional): places dark color in the outer corner.
Skip the big brush sets for now, since 2 or 3 well-chosen eye makeup brushes cover every step here.
For liner, start with a kohl or pencil liner instead of a liquid.
A pencil smudges, so a wobbly line turns into a soft, smoky one instead of something you have to wipe off. Brown looks softer than black, which makes it the easier first eyeliner to buy.
Warm the tip on the back of your hand for a second so it glides instead of tugging, which also helps when using a pencil liner on the waterline.
Pro Tip: Old eyeshadow on a brush muddies the next color you pick up, so clean your makeup brushes whenever they look stained.
How to Do Eye Makeup Step by Step
The correct order for eye makeup is primer, a light base shade, a crease shade, the darkest shade in the outer corner, blending, highlight, eyeliner and then mascara last.
Each layer goes on top of one that’s already set, so nothing you do later smears what you did earlier.
Step 1: Prime Your Lids
Pat a thin layer of eyeshadow primer from your lash line up to your brow bone with a fingertip, then let it settle for a moment.
Primer gives powder something to grip. That means color shows truer and stays on the lid instead of sliding into the crease by lunch.
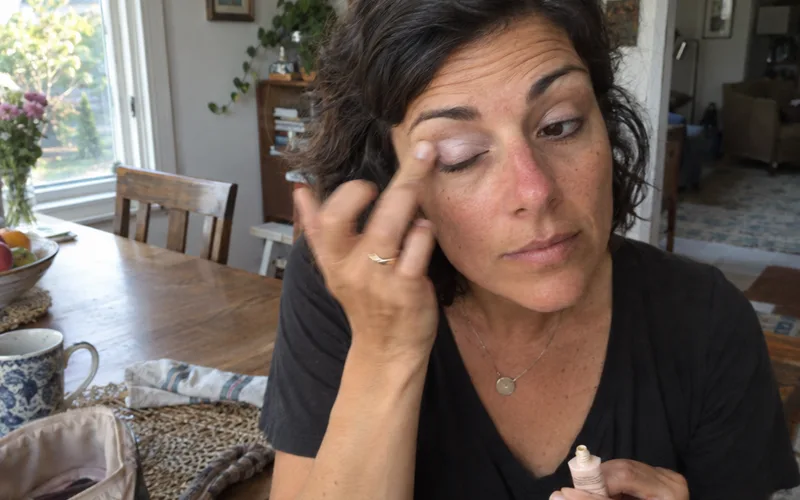
No primer? A thin layer of concealer works in a pinch, as long as you set it with a little powder.
Note: Start with clean, dry lids. A rich eye cream right before makeup gives eyeshadow a slippery base to slide around on.
Step 2: Sweep a Light Base Over the Lid
Pick the lightest matte shade in your palette that’s close to your skin tone and sweep it over the whole lid with your flat brush.
This evens out redness on the lid and gives every darker shade a soft edge to fade into.
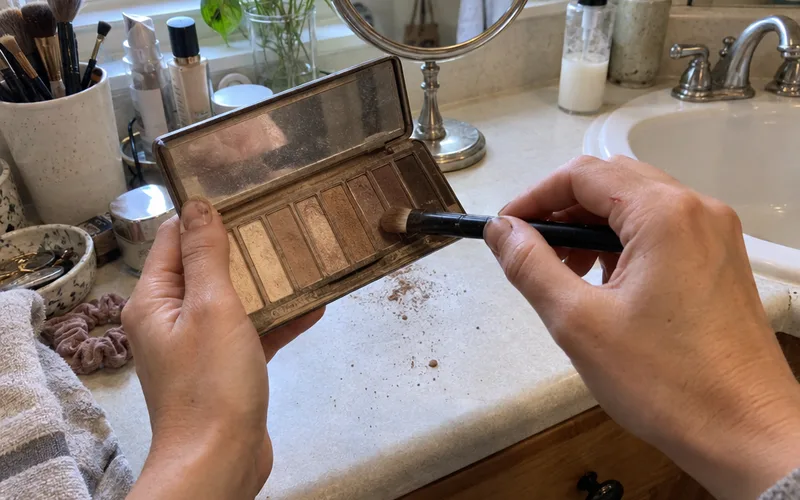
Tap the brush on the edge of the pan first, because most fallout (those dark specks under your eyes) comes from too much powder on the brush.
Step 3: Blend a Transition Shade Into the Crease
A transition shade is a matte brown or taupe a step or two darker than your skin, and it goes through the crease before any dark color.
The crease is the fold of your upper eyelid where the lid meets the brow bone.
Sweep it back and forth in windshield-wiper strokes with your fluffy brush to add soft dimension.
Look straight ahead into the mirror while you place it, so you see where your crease sits with your eyes open.
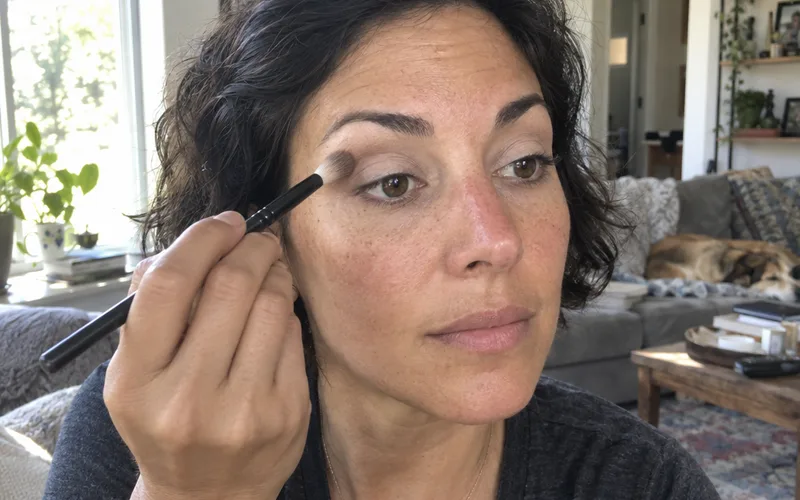
Why light before dark? Dark pigment is hard to move once it’s down, and the lighter layer gives it something to melt into.
Step 4: Press the Darkest Shade Into the Outer V
The darkest eyeshadow goes on the outer corner of the eye, in a sideways V that runs from the outer lash line up into the crease.
Use a small brush for it. The darker the shade, the smaller the brush should be.
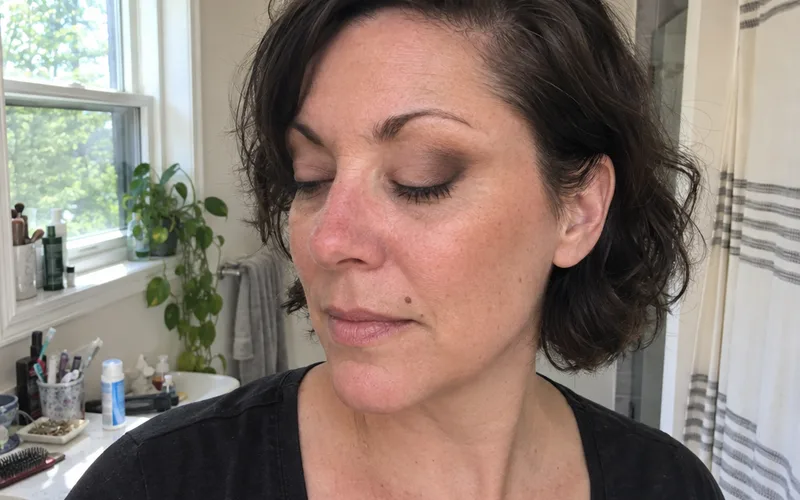
Press the color on in 2 or 3 light layers instead of one heavy swipe.
Keep dark eyeshadow away from the inner corner, because dark color near the nose makes eyes look smaller and closer together.
Step 5: Blend the Edges, Not the Whole Lid
Blending eyeshadow without harsh lines comes down to a clean fluffy brush, light pressure and small circles worked only where 2 shades meet.
Hold the brush near the end of the handle. You’ll press more lightly without even trying.
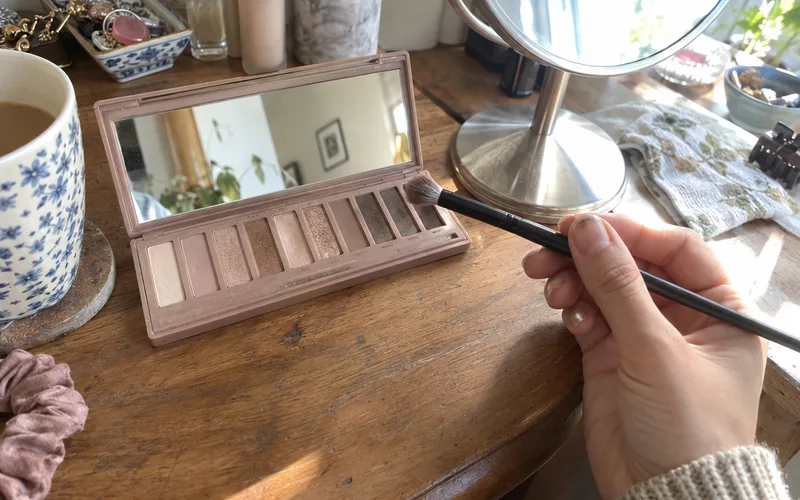
Stop once you can’t see where one shade ends, because past that point all 3 shades turn into one muddy brown.
If 2 colors still look like separate stripes, add a little of your transition shade between them and soften the border again.
Step 6: Brighten the Center and Inner Corner
Pat your lightest shimmer onto the center of the lid, right where light would hit, and dab a touch into the inner corner.
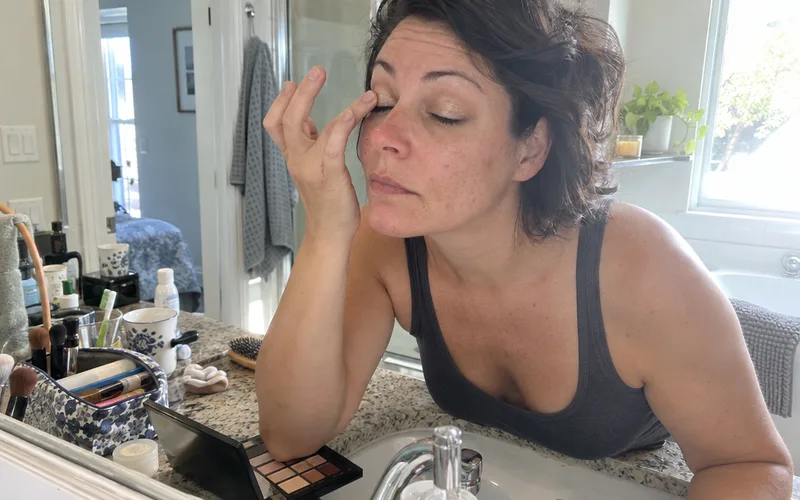
A little matte or satin highlight just under the brow arch finishes the shape.
That contrast, bright in the middle and deep at the outer V, is what makes the eye look rounder and more awake.
Step 7: Line or Tightline the Upper Lashes
Eyeliner goes on after eyeshadow, so powder doesn’t fall onto the line and dull it.
For a soft line, draw short dashes along the upper lash line with a brown or black pencil, then smudge them together with a small brush. A wing takes more practice, and eyeliner basics for beginners start with this same dash method.
Want thicker-looking lashes with no visible line? Try tightlining.
L’Oréal Paris Australia, in its own brand guide to eye makeup by eye shape, describes tightlining as lining your upper waterline, the area inside the lash line, and says it makes hooded eyes look bigger and more defined.
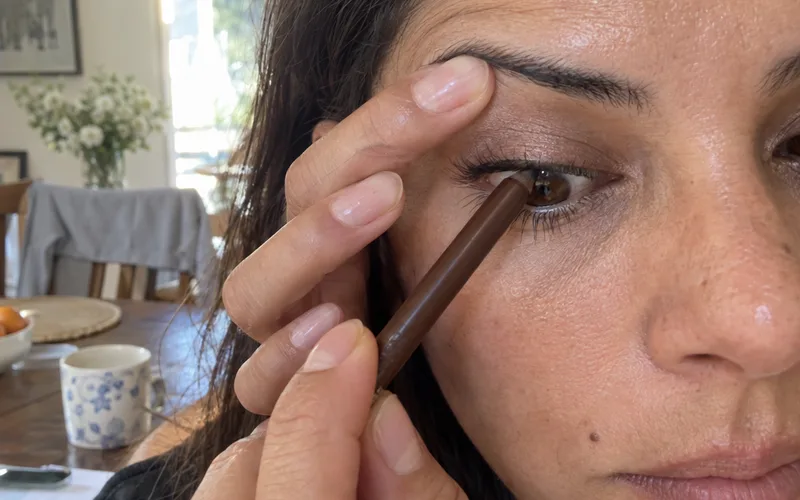
Gently lift your upper lid with one finger and press a waterproof pencil into the base of the lashes from underneath.
Step 8: Curl Your Lashes and Finish With Mascara
Curl clean lashes first, then sweep mascara from the roots to the tips, wiggling the wand at the base before you pull up.
Always curl before mascara, never after, because coated lashes are stiff and bend at the curler.
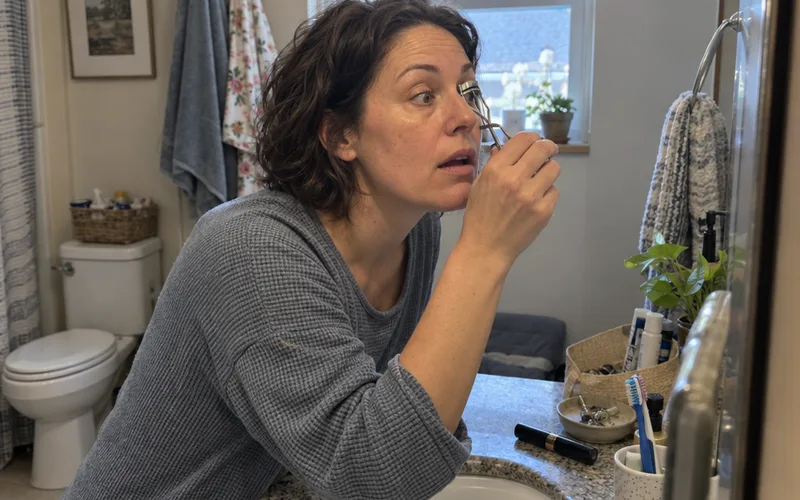
A lengthening mascara is the easiest formula to start with.
If curling every morning gets old, a lash lift holds the curl for you.
Finish by running a cotton swab with makeup remover along the outer edge to sharpen it and lift any fallout.
How to Tell Your Eye Shape
You can tell your eye shape in a mirror by checking 3 things with your eyes open: whether your crease shows, whether your outer corners tip up or down, and how much of your iris you can see.
The same L’Oréal Paris Australia guide gives a quick test for round eyes: if you can see your whole iris without your top lid covering it, your eyes are round.
Here’s how each shape changes the 8 steps:
| Eye shape | How to spot it | Change to the tutorial |
|---|---|---|
| Almond | Oval, outer corners lift slightly | Follow the steps as written |
| Round | Whole iris shows | Pull the outer V and liner outward |
| Hooded | Brow-bone skin covers the crease | Crease shade above the fold |
| Monolid | No visible crease | Dark at lash line, lighter upward |
| Downturned | Outer corners drop | Angle the outer V up, keep it low |
| Upturned | Outer corners tip up | Dark shadow on outer lower lashes |
For monolids, the L’Oréal guide recommends a gradient: darker colors near your lash line, working up to a more shimmery tone under the brow.
That gradient builds the depth a crease would normally give you.
Eye Makeup for Hooded Eyes
Eye makeup for hooded eyes works when you place the crease shade slightly above your natural fold with your eyes open, so the color still shows once the lid folds over.
The L’Oréal Paris Australia guide explains why: with hooded eyes, skin from the brow bone sags slightly and conceals the crease.
So eyeshadow placed exactly in the crease ends up hidden.
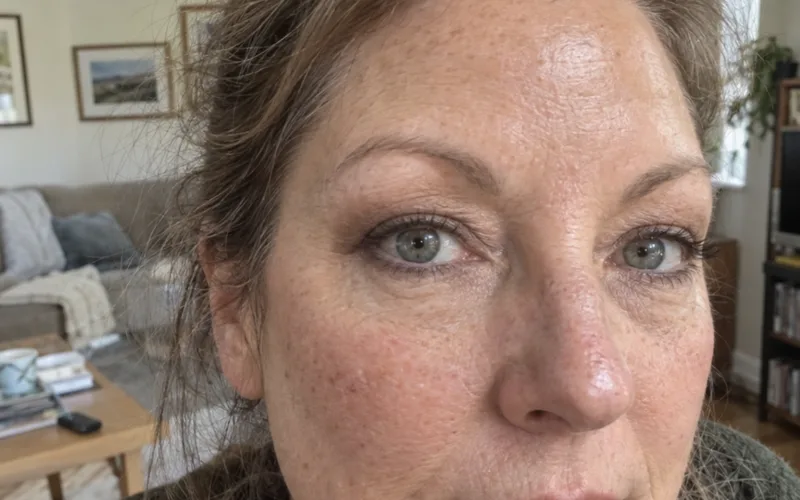
Liner follows the same rule.
The same brand guide advises keeping your eyes open while you line hooded eyes, to avoid smudging or transferring.
It also suggests keeping brows well groomed and taking eyeshadow all the way up to the brow bone, which makes the lid look like it has more space.
Tightlining (Step 7) often beats a thick line here, because the fold can’t hide what sits inside the lashes.
A full hooded-eye routine goes deeper on placement, and the right eyeliner shapes for hooded lids keep a wing visible.
3 Easy Eye Looks to Try Next
Once the 8 steps feel easy, the same method makes 3 more eye looks: a one-shade everyday eye, a brown smokey eye and a softer satin look for mature lids.
Each one changes only a few steps, and the same base works for most other eye makeup looks too.
Simple Everyday Eye Makeup
A simple everyday eye takes one matte taupe or soft brown shade swept over the lid and into the crease, a smudged brown pencil along the upper lashes and mascara.
Skip Steps 4 and 6 entirely. A cream eyeshadow stick works too, blended with a fingertip.
One shade can’t clash with itself, so there’s almost nothing to blend. These natural eye makeup looks build on the same idea with 1 or 2 shades.
Smokey Eye for Beginners
A beginner smokey eye uses brown or charcoal instead of black, with pencil liner smudged first and dark shadow pressed on top.
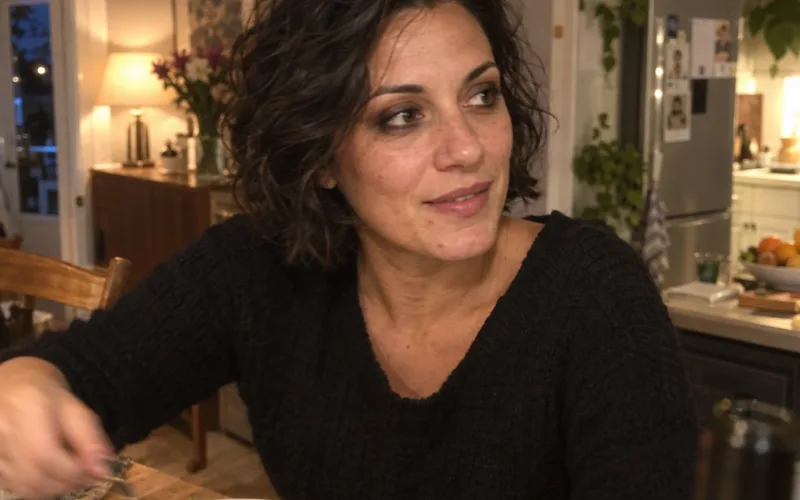
Do Steps 1 to 3 as usual.
Then scribble pencil along the upper lash line and outer V, smudge it upward, and press your darkest eyeshadow over it.
Run the same shade along the outer half of the lower lash line and connect it to the V.
Brown forgives uneven blending in a way black doesn’t, which is why it’s the easier first smokey eye. Once it feels easy, a classic smokey eye makeup look swaps in charcoal or black and a deeper crease.
Natural Eye Makeup for Older Women
Natural eye makeup for older women works best with thin layers of matte or satin shadow, a soft brown liner kept close to the lashes and mascara focused on the top lashes.
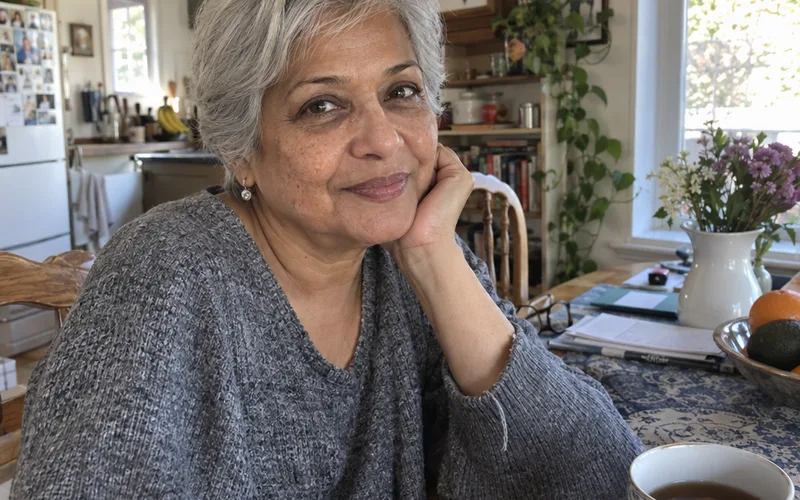
Primer matters even more on mature lids, because it stops eyeshadow from settling into fine lines.
Pick satin over chunky glitter, which can catch on texture.
Eyeshadow Colors for Brown, Blue and Green Eyes
Brown eyes suit almost any eyeshadow color, and warm bronze, copper and gold or contrasting plum and navy make them stand out most.
Blue and green eyes are pickier.
Here’s a simple rule for them: the shade opposite your eye color on the color wheel makes it pop.
- Brown eyes: bronze, copper, gold, plum, navy and olive.
- Blue eyes: copper, bronze, peach and warm browns.
- Green eyes: plum, burgundy, mauve and rose gold.
Blue eyes look brightest against warm orange-browns, which is why copper sits at the center of the best eye makeup for blue eyes.
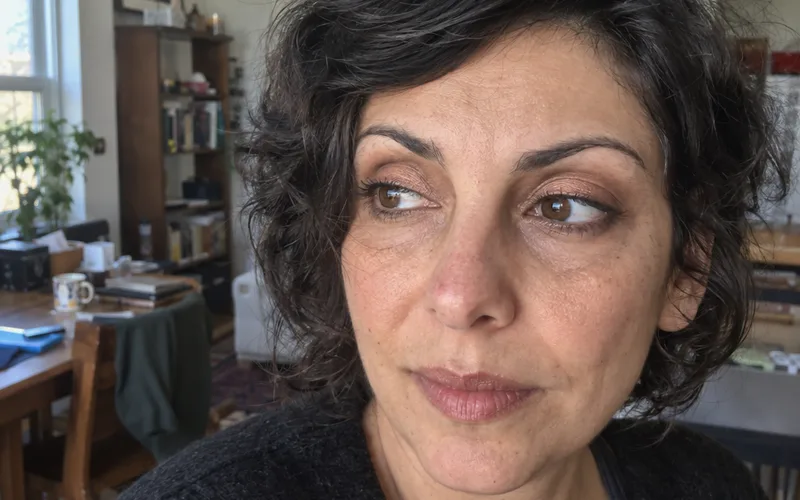
Whatever your eye color, keep your crease and outer V in neutral browns and put the accent shade on the lid.
Common Eye Makeup Mistakes Beginners Make
The most common eye makeup mistakes beginners make are skipping primer, loading too much shadow on the brush and copying a look made for a different eye shape.
These are the other mistakes worth catching early:
- Using thick concealer as a base: it can turn cakey and change the color of your eyeshadow.
- Only using skin-matching nudes: one shimmer or contrasting shade on the lid makes the eye stand out.
- Forgetting the lower lash line: a little eyeshadow under the outer third ties the look together.
One more: doing your face first before a dark or glittery eye, so fallout lands on finished skin and smears when you wipe it.
For those looks, do your eyes first, clean up, then apply foundation on bare skin.
How to Make Eye Makeup Last All Day
Eye makeup lasts all day when you start on clean, dry lids, prime them, build shadow in thin layers and use a waterproof liner and mascara.
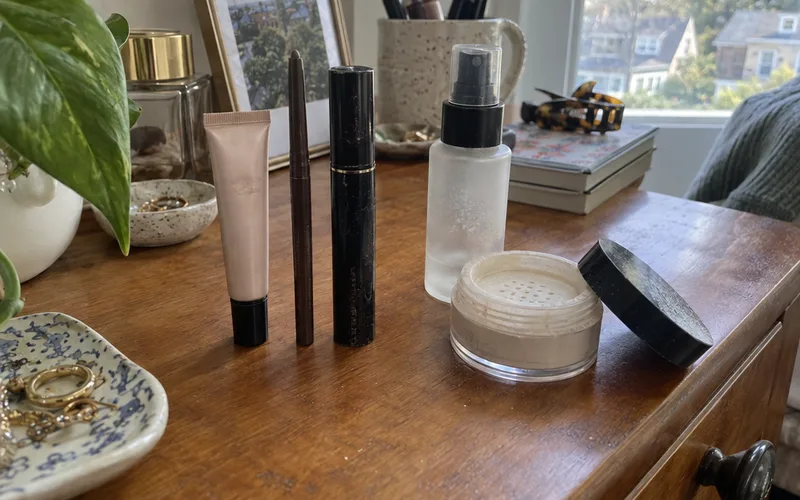
Here’s what helps most:
- Keep rich creams off the lids before makeup.
- Set cream eyeshadow or pencil liner by pressing a matching powder shadow over it.
- Choose waterproof formulas for liner and mascara, especially in humid weather.
- Mist a setting spray over your face once everything else is done.
Key Takeaway: Get the primer and thin layers right first, because a long-wear formula can’t fix eyeshadow that’s sliding on a slick base.
Frequently Asked Questions
Should you apply eyeshadow before or after foundation?
You can apply eyeshadow before or after foundation, but doing your eyes first is safer for a smokey, dark or glittery look, because you can wipe away fallout without ruining your base. For a light everyday eye, foundation first is fine if you dust loose powder under your eyes and brush it off when you’re done.
Do you put light or dark eyeshadow on first?
Put light eyeshadow on first, then build to medium and dark shades. Dark pigment is hard to move once it’s down, and a light base gives it something to blend into, so you get a soft gradient instead of a patch.
Do you put eyeliner on before or after eyeshadow?
Eyeliner usually goes on after eyeshadow, so powder doesn’t fall onto the line and dull it. The exception is a smokey eye, where you can draw pencil liner first, smudge it, and press shadow over it.
What is the easiest eye makeup for beginners?
The easiest eye makeup for beginners is a single matte taupe or soft brown eyeshadow swept over the lid and into the crease, plus mascara. It takes one brush, hides small mistakes and teaches you blending before you add more shades.
Final Thoughts
The order matters more than the products: light before dark, blend only the edges, liner after eyeshadow and mascara last.
This week, check your eye shape with your eyes open, then do Steps 1 to 5 with just 2 shades before adding liner.